Assignments > Lab 1. HTML & CSS Practice
Due on Fri, 01/07 @ 11:59PM. 5 Points.
1. Introduction
The goal of today’s lab is to help you get you started using GitHub (if you’re new to using it), and to give you a little exposure to HTML and CSS. We will be covering HTML and CSS in much more detail next week, so this lab precedes the lecture. As we will discuss on Monday:
- HTML files are for presenting content using various build-in interface elements (e.g., paragraphs, lists, tables, images, sections, etc.).
- CSS files are for styling HTML elements (e.g., fonts, colors, positioning, etc.) by (a) targeting them using selectors, and (b) setting a various style properties.
2. Background Readings
Please read / watch the following references before coming to lab.
1. GitHub
If you have not used GitHub before, please complete the GitHub tutorial before coming to lab this week:
2. HTML & CSS
Please read (or at least skim) the following:
- HTML Reference
- CSS Reference, and particularly:
- Flexbox Froggy (recommended)
3. Set Up your IDE, Git, and GitHub
We recommend that you use Visual Studio Code as your code editor. We will also be using git to manage versions of your code and to interact with GitHub (and later Heroku).
1. Install Visual Studio Code
Download and install Visual Studio Code: https://code.visualstudio.com/
- We also recommend that you install the Live Server” extension (click the green “Install” button).
2. Install Git / Register for GitHub
If you haven’t already:
- Install git on your computer: https://git-scm.com/book/en/v2/Getting-Started-Installing-Git
- Register for GitHub: https://github.com/join
3. Configure Your GitHub Repository
Many of you already have a process for doing this, so feel free to do your own thing here. That said, if you’re relatively new to this, here are some instructions:
On GitHub
In your web browser, navigate to GitHub and create a new public repository called webdev-labs (see tutorial above if you don’t know how). Please make sure that you mark your repo “public.”
On your laptop
On your computer, create a folder called webdev-labs (create it somewhere that you can find it later). Next, download lab01.zip (below), unzip it, and move your lab01 folder inside of your webdev-labs folder.
Your directory structure should look like this:
webdev-labs
└──lab01
    ├── exercise01
    └── exercise02
When you’re done, open your command line (on your local computer), navigate to your webdev-labs directory, and issue the following commands (one at a time, in the order shown):
git init
git remote add origin ???         # replace ??? w/your repo address, using either in HTTPS or SSH protocol
git add .
git status
git commit -am 'My first commit'  # any message you want
git branch -M main
git push origin main
| Command | What it does | When to you use it | |
|---|---|---|---|
| 1. | git init |
Initializes a brand new git repo on your local machine. | Just once (when you’re first setting up your repo) |
| 2. | git remote add origin ??? |
Connects the local repo you just created (on your computer) to your GitHub repo (in the cloud). Replace ??? with the address of the GitHub repo you just made, using either in HTTPS or SSH protocol. For more information, see this post |
Just once (when you’re first setting up your repo) |
| 3. | git add . |
Tells your local repo to watch all of the files in the folder. The dot (.) indicates that you want to add “all” your files. | Often: Anytime you create a new file and want to ensure that file is under version control. |
| 4. | git status |
Shows you all of the files that have changed since you last committed. Also tells you which files are tracked and which are not. | Often: Anytime you want to check the status of your files. |
| 5. | git commit -am 'My first commit' |
Committing is like “saving” a version of all of your tracked files (if you ever needed to later revert to a previous version of your code). | Often: Anytime you want to save a version of your work. |
| 6. | git branch -M main" |
Creates a new branch called main and switches to it. A branch is a unique collection of code changes with a unique name). |
Occasionally: Anytime you want to create a new named branch of your work. |
| 7. | git push origin main |
“Pushing” copies all of your committed files to your GitHub repo (on the cloud). | Often: Anytime you want to save a version of your files to the cloud (or submit your homework)! |
To continue saving and tracking your changes using git / GitHub, repeat steps 3, 4, 5, and 7 as needed.
4. HTML & CSS Introduction
Once you’ve set up your git repository, try the following three HTML / CSS Exercises.
1. Box Model Practice
- Open the
lab01/exercise01folder. - Open
index.htmland uncomment the stylesheet link.- Note that in order for a stylesheet to be applied to an HTML file, you have to explicitly link to it in the
<head></head>section.
- Note that in order for a stylesheet to be applied to an HTML file, you have to explicitly link to it in the
- Change out the photo to another photo that you find on the Internet.
- Hint: image reference
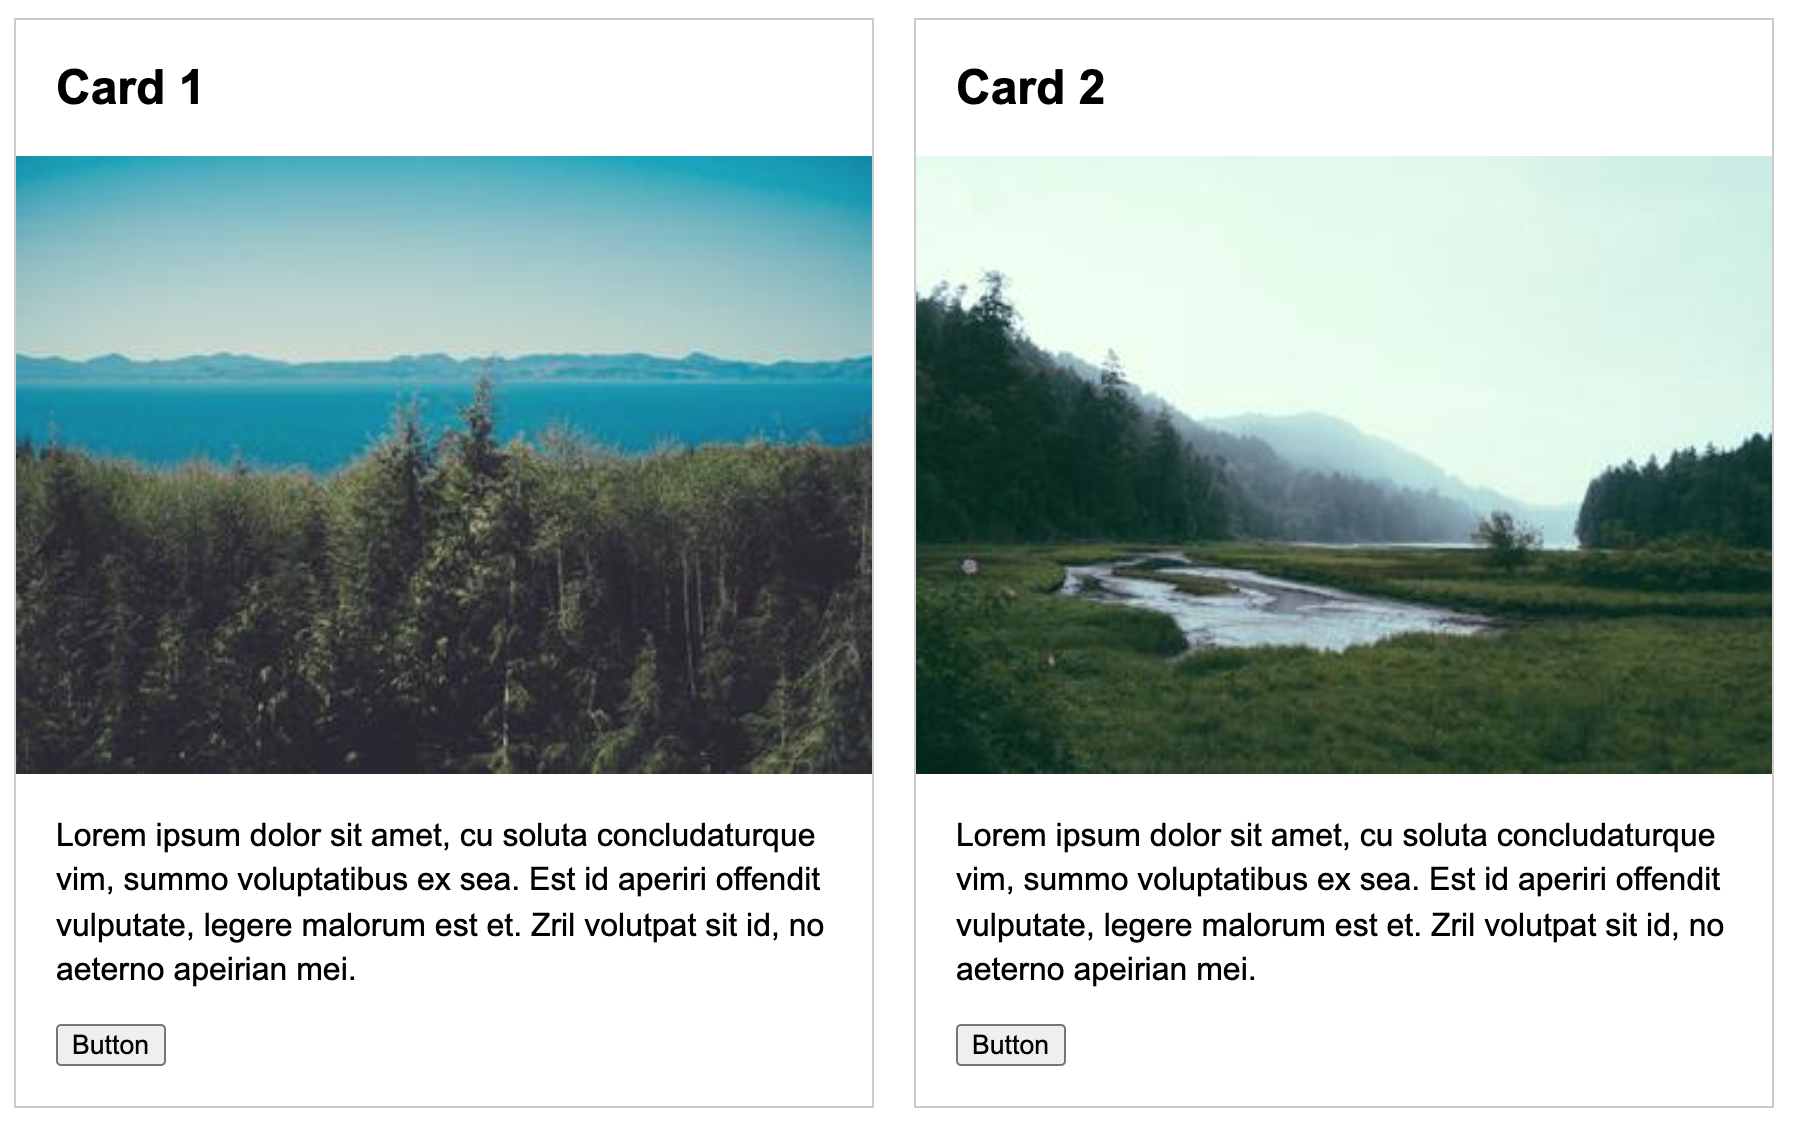
- Make your card look like the one shown below by using various selectors:
- Hint: box model reference

2. Layout Practice
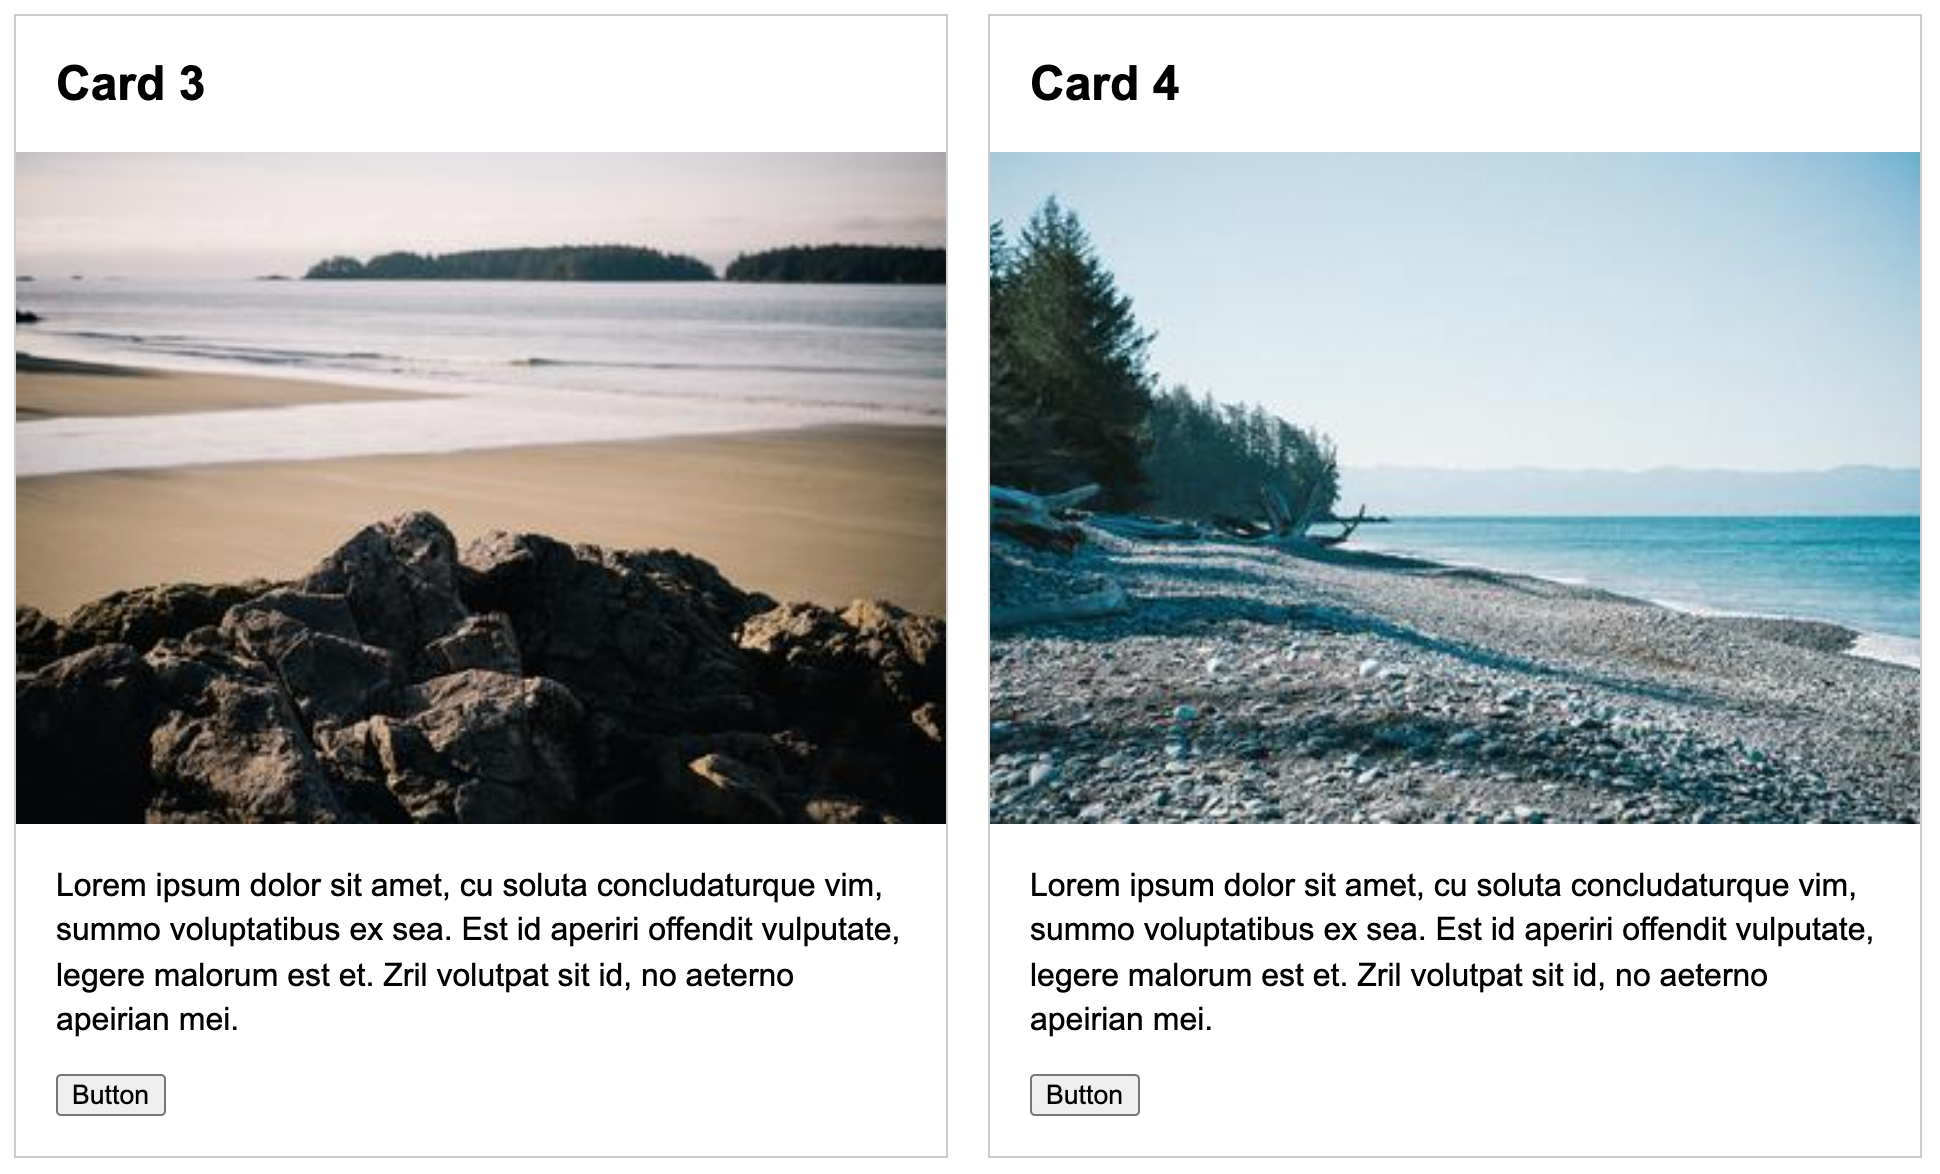
Using any approach you want, please create the following screens for desktop, tablet, and mobile (pictured below). To do this:
- Open the
lab01/exercise02folder. - You will need to use media queries, which have been set up for you in the
exercise02/style.cssfile.- Hint: media queries reference
- You will also need to uncomment the viewport meta tag in the
<head></head>section of your HTML file.- Read more about the viewport meta tag on MDN. In the context of mobile web design, this tag tells the browser to honor the dimensions of the device (versus assuming that the website was designed for a desktop screen).
Desktop

Tablet


Mobile

3. Jazz it Up
If you have time, please experiment with one or more of the following enhancements:
- Try changing the font of the Card header (H2 tag) to use a Google Font.
- Hint: Give this tutorial a shot (or find one you like better)
- Change out one of the images for an embedded video (from YouTube of Vimeo).
- Hint: Embedding media
- Try modifying your HTML and CSS files however you want.
5. What to Turn In
Note: if you weren’t able to complete all three of the exercises in the time alotted, that’s fine. This was just a warm-up and you are being assessed on evidence of a good-faith effort. The most important thing is that you set up your GitHub
To submit Lab 1:
1. Push all of your files to GitHub
Please copy the latest version of your files to GitHub by issuing the following commands:
git add .    # in case you created any new files
git commit -am 'Committing all of my files'
git status   # to make sure that all of your files are being tracked
git push     # sends your files to GitHub
2. Paste a link to your repo on Canvas
Paste a link to your webdev-labs GitHub repository into the Canvas textbox for Lab 1.
3. Answer the following question on Canvas
Below the link to your repo, in a brief reflective response (about 4-8 sentences total), please consider the following questions:
- Why, and to whom, is accessibility important?
- How might you make a site (or app) like Instagram more accessible?