Assignments > Lab 1. HTML & CSS Practice
Due on Fri, 04/01 @ 11:59PM. 5 Points.
Readings
If you are relatively new to git and GitHub, please complete the GitHub tutorial before coming to lab this week:
Introduction
The goal of today’s lab is to help you get you started using GitHub (if you’re new to using it). Specifically, you will:
- Install VS Code
- Configure a new repository (on GitHub.com)
- Configure git locally (on your laptop)
- Review some git basics (add, commit, push, and branch)
- Practice branching
- Optional: HTML Practice
Your Tasks
1. Install Visual Studio Code
We recommend that you use Visual Studio Code as your code editor:
- Download and install Visual Studio Code: https://code.visualstudio.com/
- Also install the Live Server” extension (click the green “Install” button).
2. Configure your GitHub repository
- If you haven’t already, register for GitHub: https://github.com/join.
- Then, create a new public repository called
webdev-labs(see tutorial above if you don’t know how). Please make sure that you mark your repo “public.”- Leave the following options UNCHECKED:
- Add a README file
- Add .gitignore
- Choose a license
- Leave the following options UNCHECKED:
- Finally, create a personal access token as follows:
- Navigate to “Settings” in the top, right-hand menu
- In the left-hand navigation panel, scroll down to the bottom until you see the “Developer settings” link. Click it.
- Then click the “Personal access tokens” link in the left-hand navigation panel.
- Generate a new token:
- Name the token webdev
- Make it so that it “never expires”
- Check the “repo” checkbox (which should check all of the child settings as well).
- Save the token somewhere safe (you’ll need it later, and you won’t be able to view it again after you first create it).
3. Configure git on your computer
- Install git on your computer: https://git-scm.com/book/en/v2/Getting-Started-Installing-Git
- On your computer, create a folder called
webdev-labs(create it somewhere that you can find it later). Next, downloadlab01.zip(below), unzip it, and move yourlab01folder inside of yourwebdev-labsfolder.
Your directory structure should look like this:
webdev-labs
└──lab01
    ├── exercise01
    └── exercise02
Next, navigate into your webdev-labs directory from the command line, and issue the following commands (one at a time, in the order shown):
git init
git add .
git commit -m "first commit"
git branch -M main

# IMPORTANT: Replace <USERNAME> and <REPOSITORY> with YOUR github username and
# YOUR repository (webdev-labs). For example, Sarah's remote address would be:
#   https://github.com/vanwars/webdev-labs.git
git remote add origin https://github.com/<USERNAME>/<REPOSITORY>.git
git push -u origin main
When you’re done, navigate back to the GitHub repository you just made and verify that your files have been uploaded.
4. Git Basics
What did I just do? Well, please read the cheatsheet summary below to see an annotated explanation of each command used. It is tempting to not read and skip over this section, but please do (and ask your peer mentor some questions if you have them)!
| Command | What it does | When to you use it | |
|---|---|---|---|
| 1. | git init |
Creates a brand new git repo on your local machine. If you look in your file manager, you’ll see a new .git folder that has been created at the root of your webdev-labs directory. |
Just once (when you’re first setting up your repo) |
| 2. | git add . |
The git add command stages changes in the working directory to the staging area. It tells Git that you want to include updates to one or more files in the next commit. The dot (.) indicates that you want to add “all” your files. |
Often: Anytime you create a new file and want to ensure that file is under version control. |
| 3. | git status |
Shows you all of the files that have changed since you last committed. Also tells you which files are tracked and which are not. | Often: Anytime you want to check the status of your files. |
| 4. | git commit -m 'My first commit' |
Committing is like “saving” a version of all of your staged changes. This is useful if you ever needed to later revert to a previous version of your code. | Often: Anytime you want to save a version of your work. |
| 5. | git branch -M main" |
Creates a new branch called main and switches to it. A branch is named version of your code. Technically, they are actually pointers to a snapshot of your code changes. |
Occasionally: Anytime you want to create a new named branch of your work. |
| 6. | git remote add origin <your_repo_address> |
Connects the local repo you just created (on your computer) to your GitHub repo (in the cloud). Replace <your_repo_address> with the address of the GitHub repo you just made, using the HTTPS protocol |
Just once (when you’re first setting up your repo) |
| 7. | git push -u origin main |
“Pushing” copies all of your committed files to your GitHub repo (on the cloud). origin refers to your current branch and main refers to your remote branch. If the remote branch does not exist, it will be created when you push for the first time. |
Often: Anytime you want to save a version of your files to the cloud (or submit your homework)! |
To continue saving and tracking your changes using git / GitHub, repeat steps 2, 3, 4, and 7 as needed.
5. Practice branching
Now that you’ve set up git / GitHub, let’s try to understand how “branching” works.
Create a new “lab01” branch
Make a new branch called “lab01” from your command line as follows:
git checkout -b lab01   # creates the branch
git branch              # lists all of your branches
After issuing these commands, you should see something like this…
* lab01
  main
…where there is an asterik before lab01 (which may also be green). The asterik indicates that lab01 is now your “working branch.”
Edit Your Code
Now, let’s make some changes to some of the files in the lab01 folder (on your lab01 branch):
- Open the
lab01/exercise01folder in Visual Studio code. - Open
index.htmland uncomment the stylesheet link.- Note that in order for a stylesheet to be applied to an HTML file, you have to explicitly link to it in the
<head></head>section.
- Note that in order for a stylesheet to be applied to an HTML file, you have to explicitly link to it in the
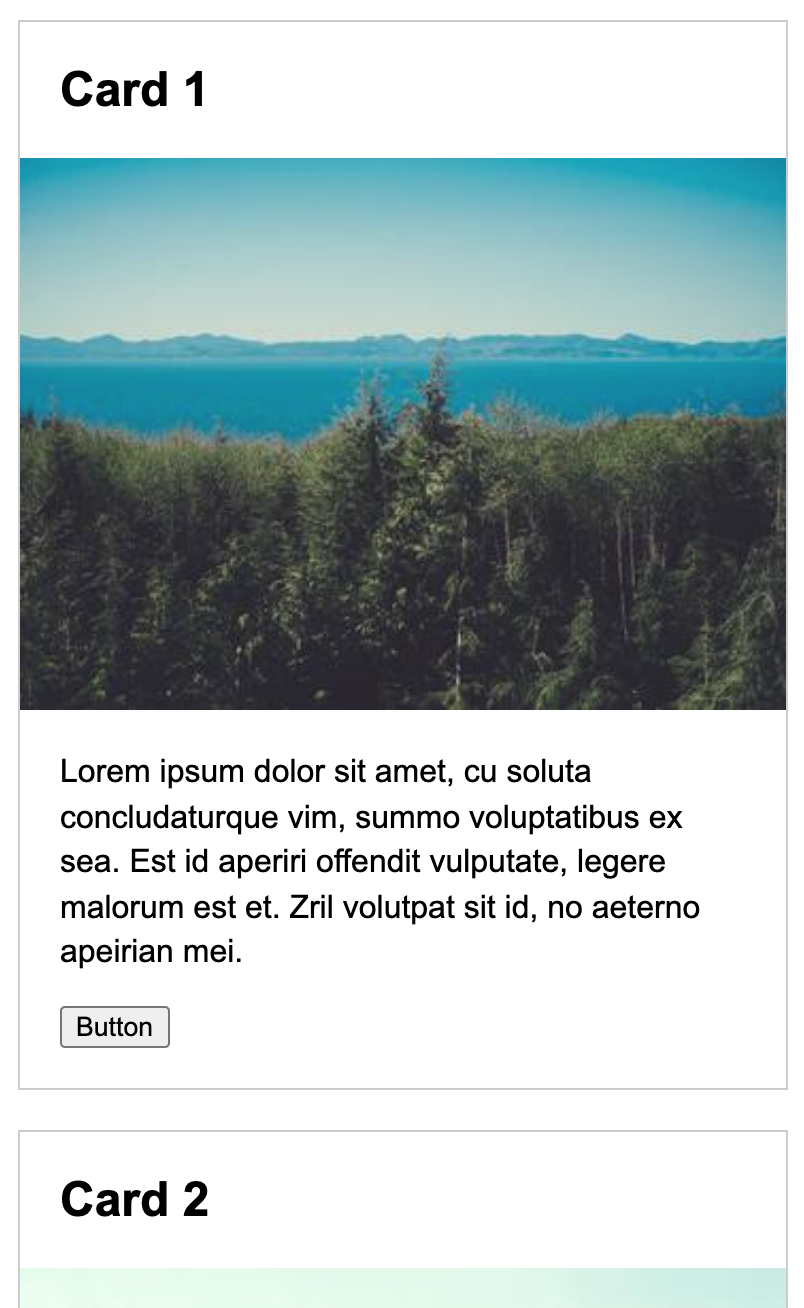
- Change out the photo to another photo that you find on the Internet.
- Hint: image reference
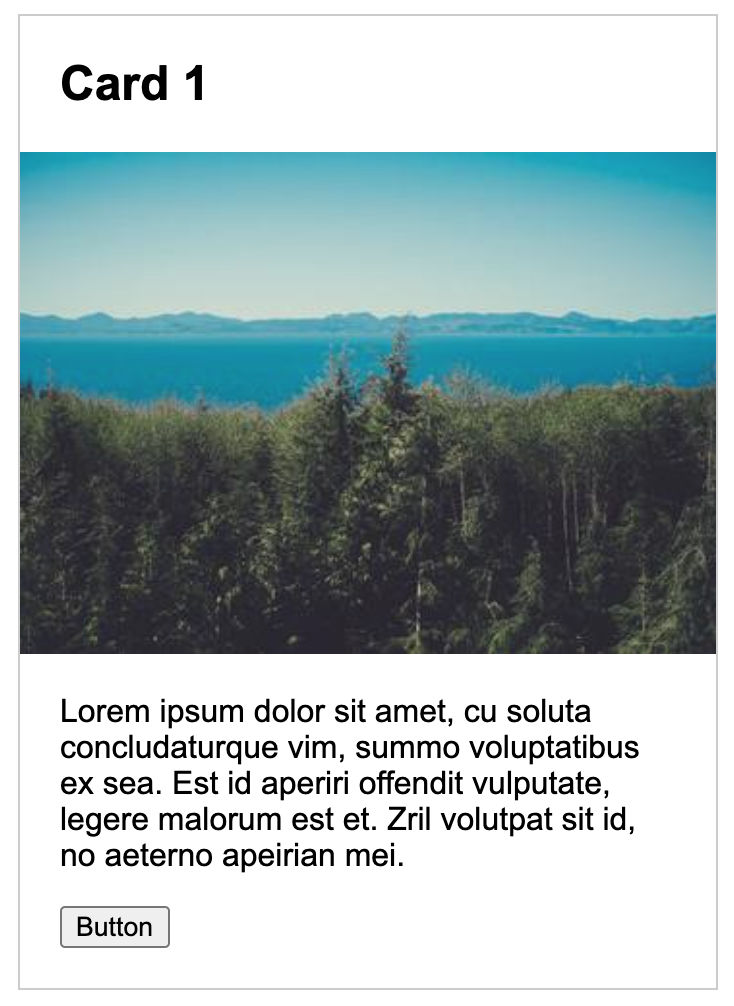
- Make your card look like the one shown below by using various selectors:
- Hint: box model reference
Commit and push your “lab01” branch
Commit and push your changes as follows:
git add .
git commit -m 'Lab01 updates' # use any message you like
git push -u origin lab01
Go to GitHub and verify that you have two branches: main and lab01
Switch back to your “main” branch
Switch back to your main branch as follows:
git checkout main
Note that your code reverted back to the version of the files you originally downloaded. Now switch back to lab01:
git checkout lab01
Note that your changes are back! Amazing! Finally, if you want to “merge your changes from the lab01 branch into your main branch, please do the following:
git checkout main
git merge lab01
git push origin main
Now, both of your branches will be identical. Typically, branches are used for experimental code / new features, and then once those features have been finalized, they are incorporated into (or “merged”) into to the main branch (which represents the primary codebase).
Extra Practice (Optional)
Not required, just to get you thinking about layouts in preparation for next week’s assignment.
Using any approach you want, please create the following screens for desktop, tablet, and mobile (pictured below). To do this:
- Open the
lab01/exercise02folder. - You will need to use media queries, which have been set up for you in the
exercise02/style.cssfile.- Hint: media queries reference
- You will also need to uncomment the viewport meta tag in the
<head></head>section of your HTML file.- Read more about the viewport meta tag on MDN. In the context of mobile web design, this tag tells the browser to honor the dimensions of the device (versus assuming that the website was designed for a desktop screen).
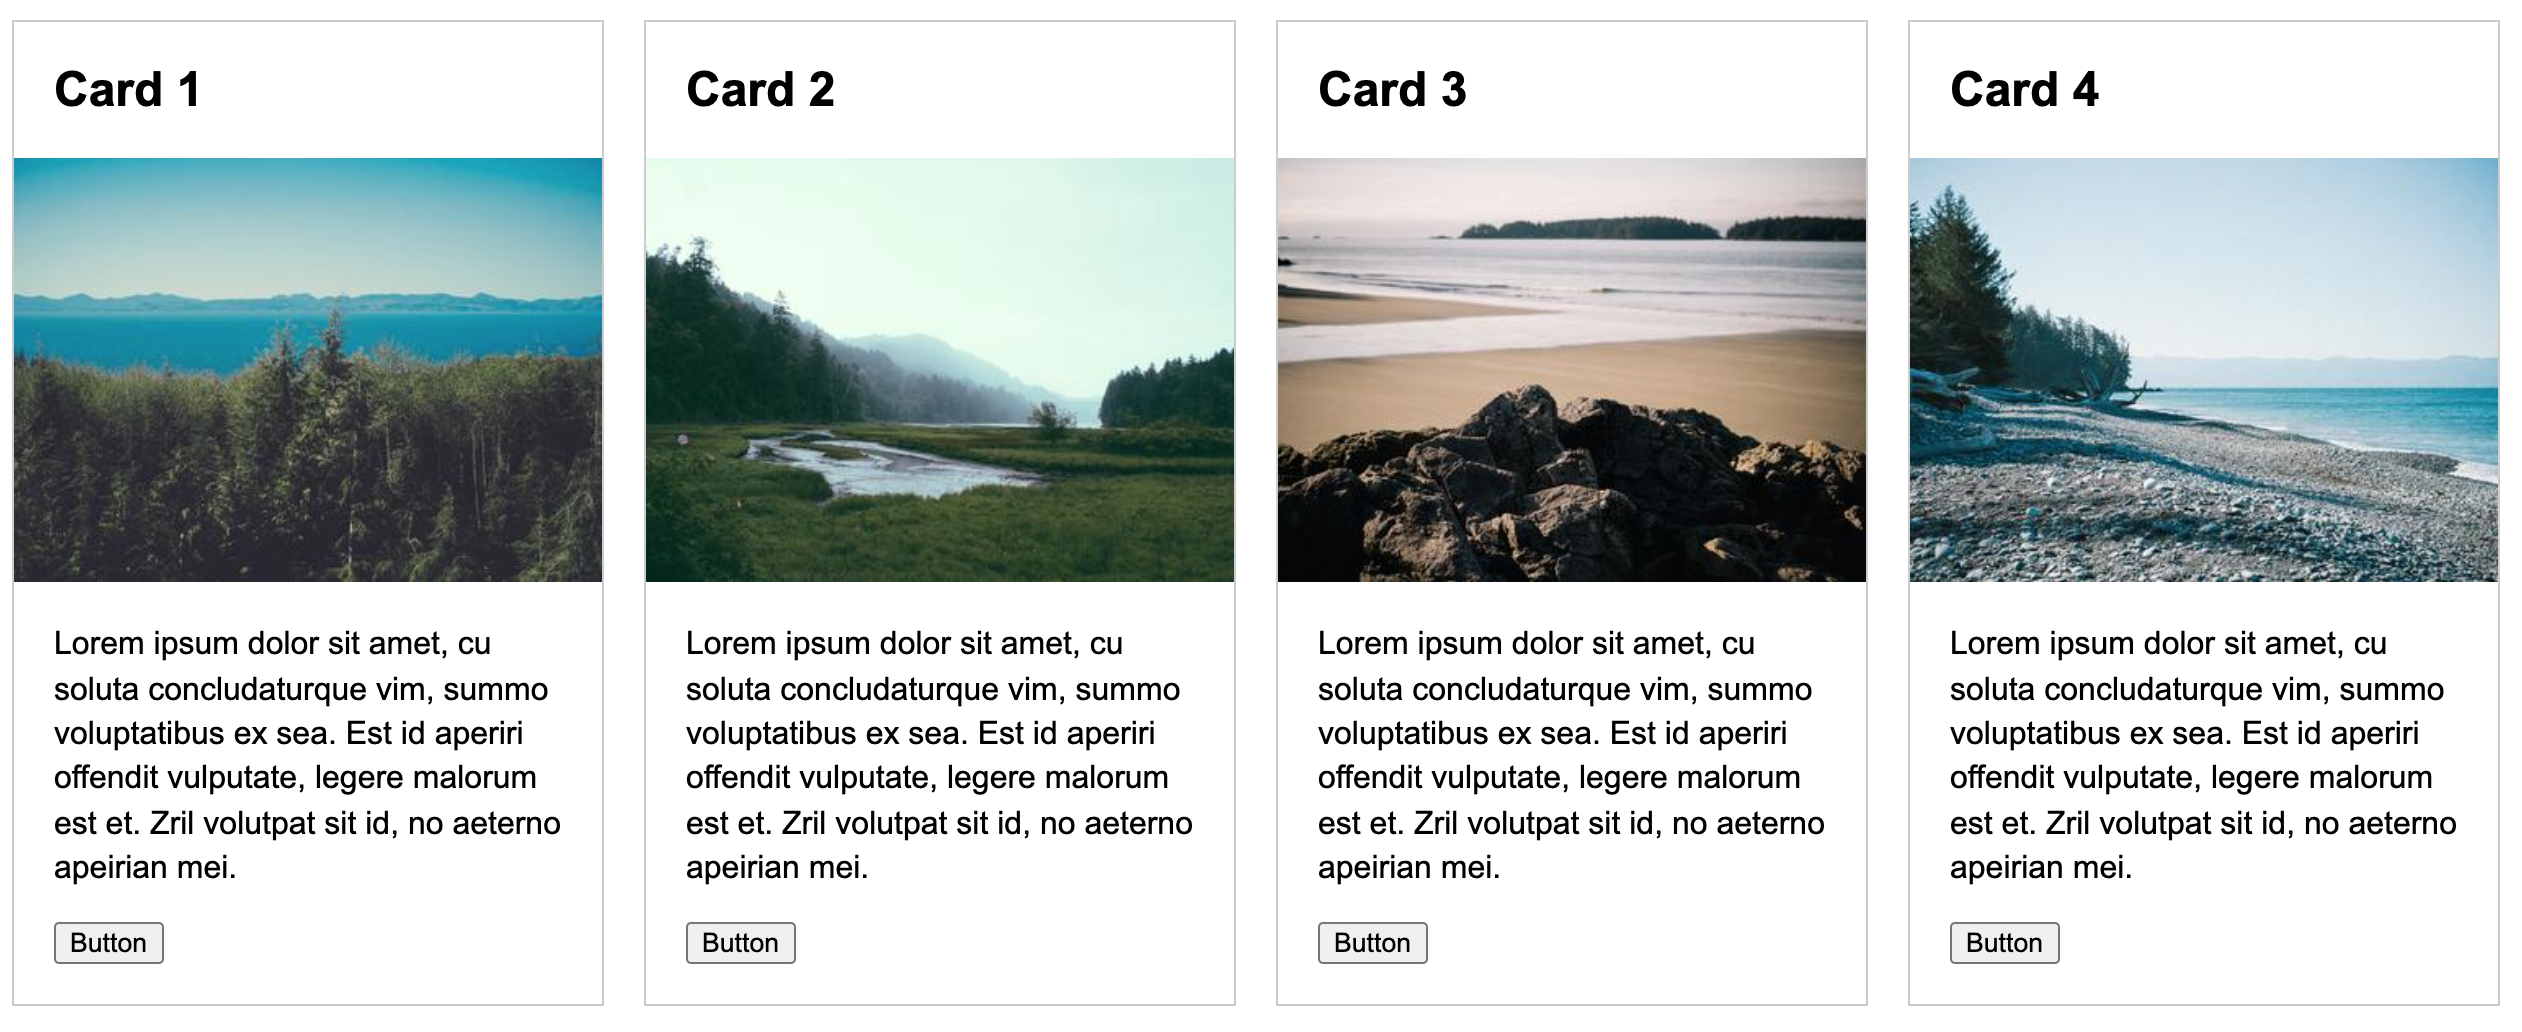
Desktop
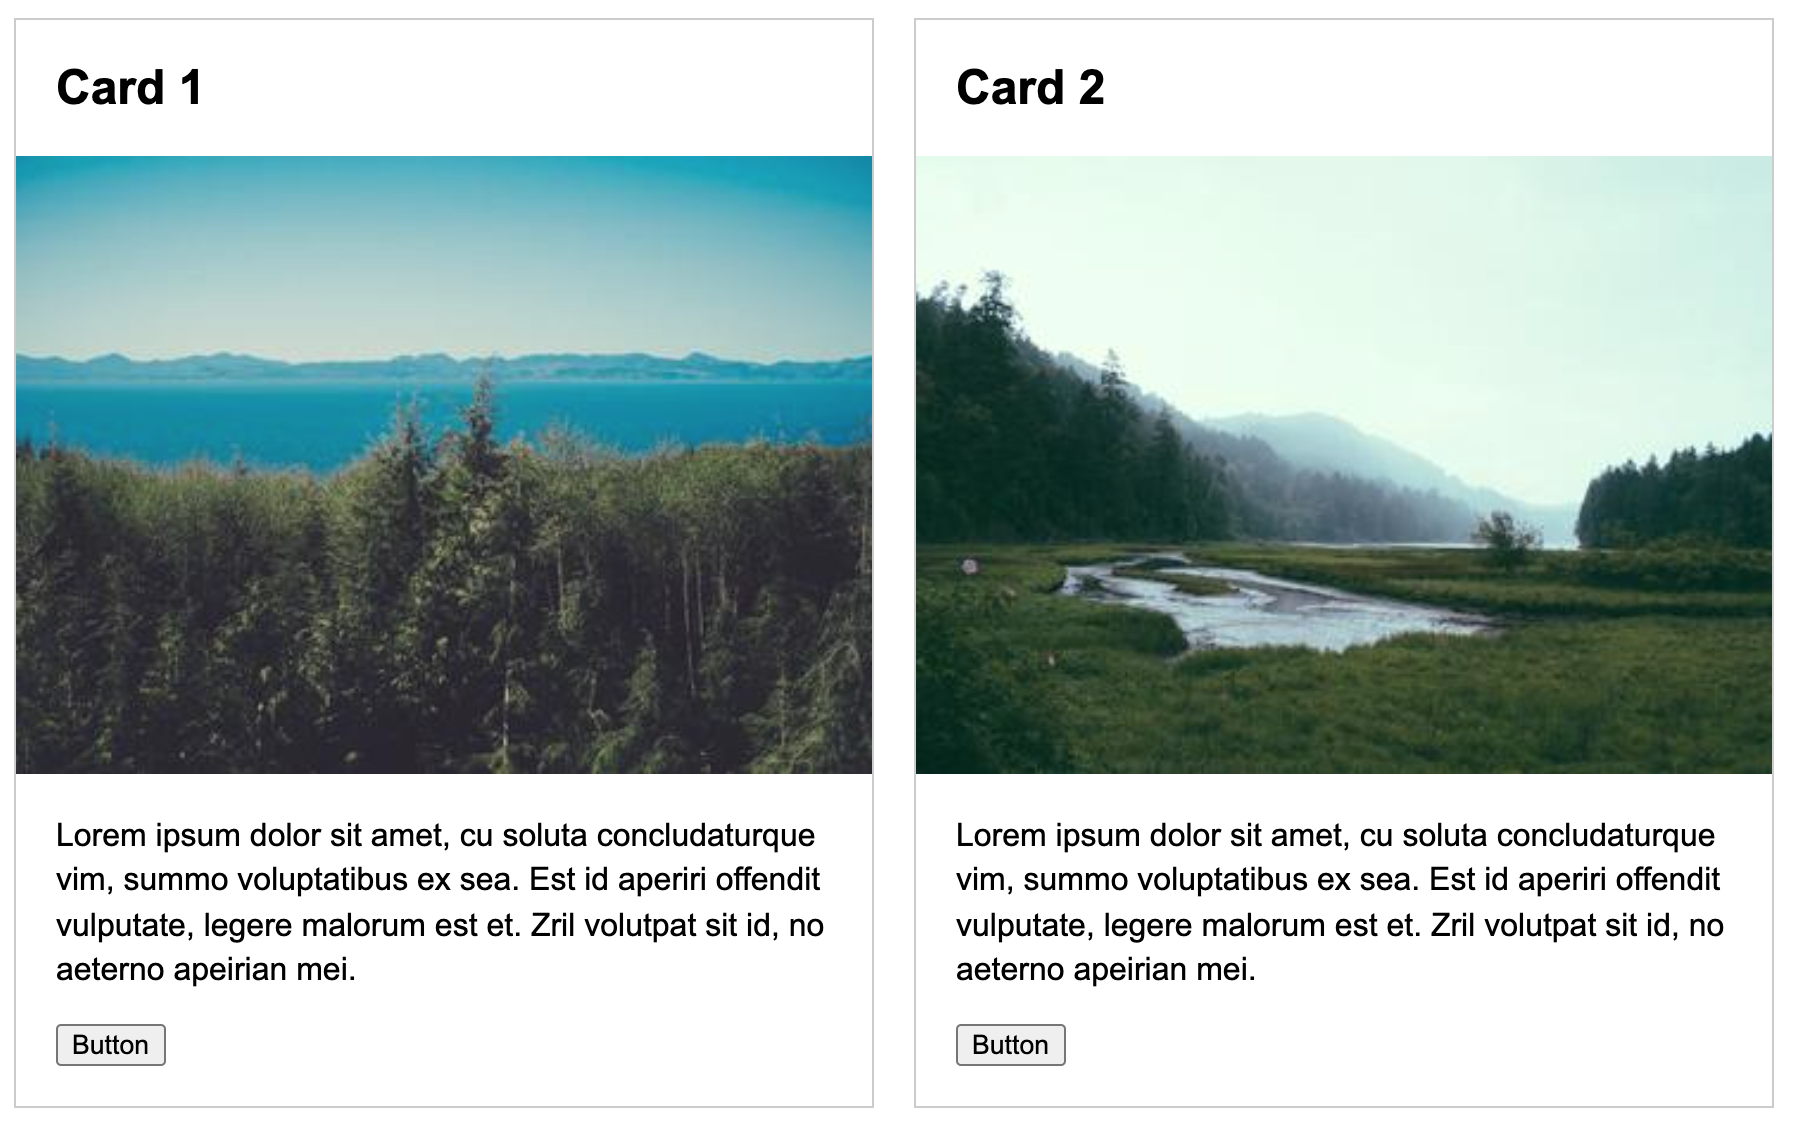
Tablet
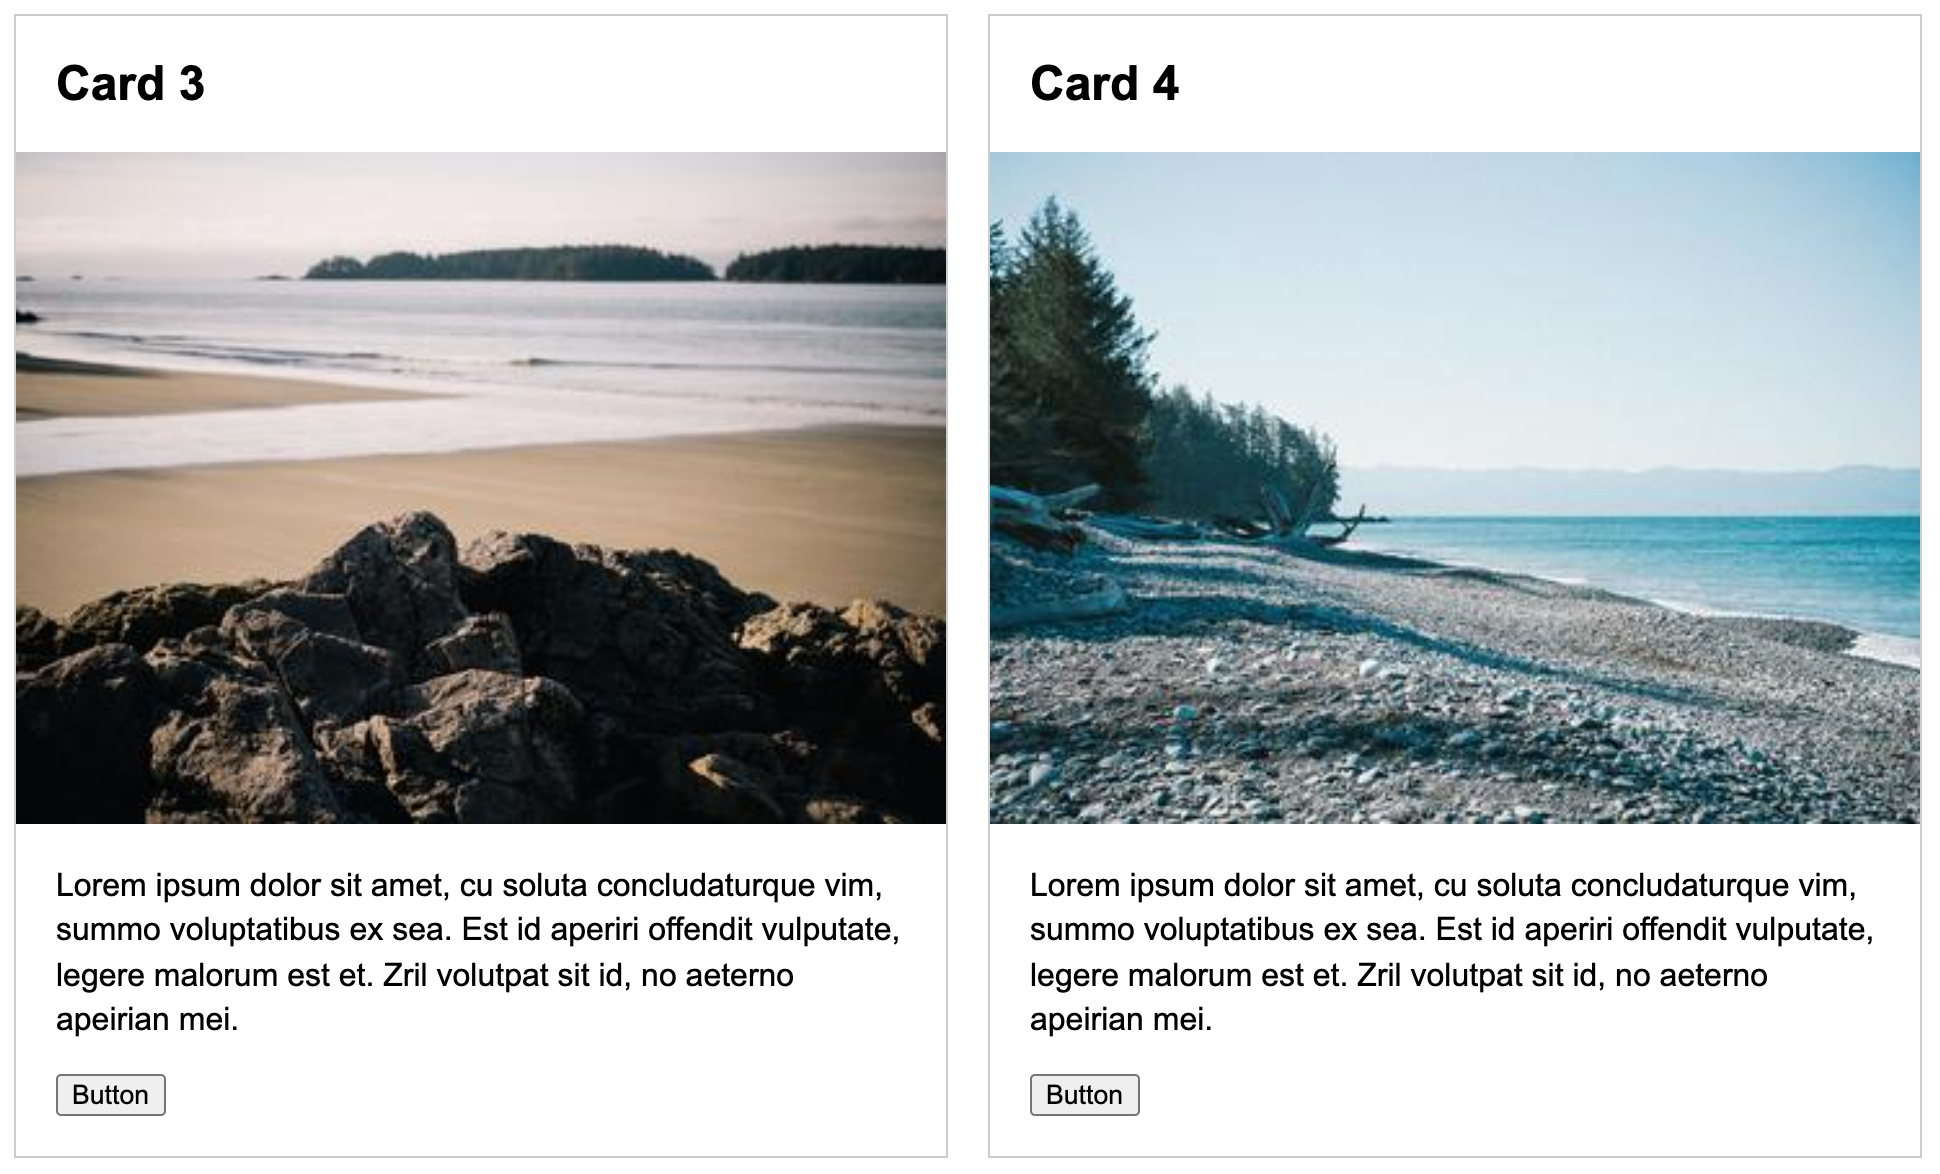
Mobile
Jazz it Up
If you have time, please experiment with one or more of the following enhancements:
- Try changing the font of the Card header (H2 tag) to use a Google Font.
- Hint: Give this tutorial a shot (or find one you like better)
- Change out one of the images for an embedded video (from YouTube of Vimeo).
- Hint: Embedding media
- Try modifying your HTML and CSS files however you want.
What to Turn In
1. Paste a link to your repo on Canvas
Paste a link to your webdev-labs GitHub repository into the Canvas textbox for Lab 1.
2. Answer the following questions:
- What is a branch?
- What is the difference between the “commit” command and the “push” command?